
Cricket insect
How to Breed Crickets at Home

How to Breed Crickets at Home. A Small-Scale Cricket Breeding System.
Setup: You will need
- Two plastic storage bins with lids.
- Two smaller plastic FoodSaver containers with lids for use as nursery containers.
- Two very small plastic FoodSaver containers with lids for use as egg-laying sites.
- A roll of aluminum window screening. Do not use nylon window screen as crickets can easily chew through it.
- A durable adhesive such as duct tape and or hot glue.
- Several shallow containers for food and water.
- Coco fiber vermiculite or similar for use as an egg-laying medium.
- A heat source such as this lamp intended for use with reptiles.
- 150-watt red heat bulb. Be careful to avoid the risk of fire. Note that if you use a light bulb, you may need to change wattages with the seasons if temperatures tend to vary.
- Egg cartons, cardboard tubes or similar as hiding places.
- About fifty mature or nearly mature crickets.
Crickets need a fairly dry enclosure with plenty of ventilation.
- Cut out approximately 50% of the lid of the bin and cover it with aluminum window screen which should be securely glued or taped.
- For the nursery containers and egg-laying containers, replace most of the lid with a window screen. Hot glue works best for these smaller containers.
- Place the egg cartons and tubes on the warm side of the enclosure.
- Place the nursery container near them. Inside the nursery container place pieces of egg cartons and/or flattened sections of cardboard tubes as well as small shallow food and water containers.
- Fill the egg-laying container with moist coconut fiber and replace the screen cover. Place it near the egg cartons so that the crickets can easily climb on top of it.
- Place the food and water dishes in the remaining floor space of the bin.
Maintenance
Crickets are healthiest and do best when kept quite warm. Ideally, the crickets should be kept in the high 70s to mid-80s Fahrenheit and a hot spot in the 90s will do no harm. Crickets are unfortunately cannibalistic. This tendency cannot be eliminated but can be minimized by providing plenty of food and water. To keep the crickets hydrated I use water crystals which I purchase at a garden center dry for far less than they costed a pet shop. They should be soaked in water for several hours before use. They should always be available to the crickets. As food, provide non-medicated chick crumbles, high-quality fish food pellets for added protein and pieces of fruits and vegetables such as apples, oranges, bananas, zucchini, sweet potato, carrots and leafy greens. The more varied the diet your crickets eat the better for the animals that eat them.
Cleaning
The bins should be cleaned it out at least once per week. I place new egg cartons and tubes in the extra bin and move all of the crickets over. I then empty, rinse and dry out the old bin which is then ready to be used as the clean bin for the following week. I do the same with a
nursery container. It is also a good idea to remove dead crickets from the bin whenever you see them.
Breeding
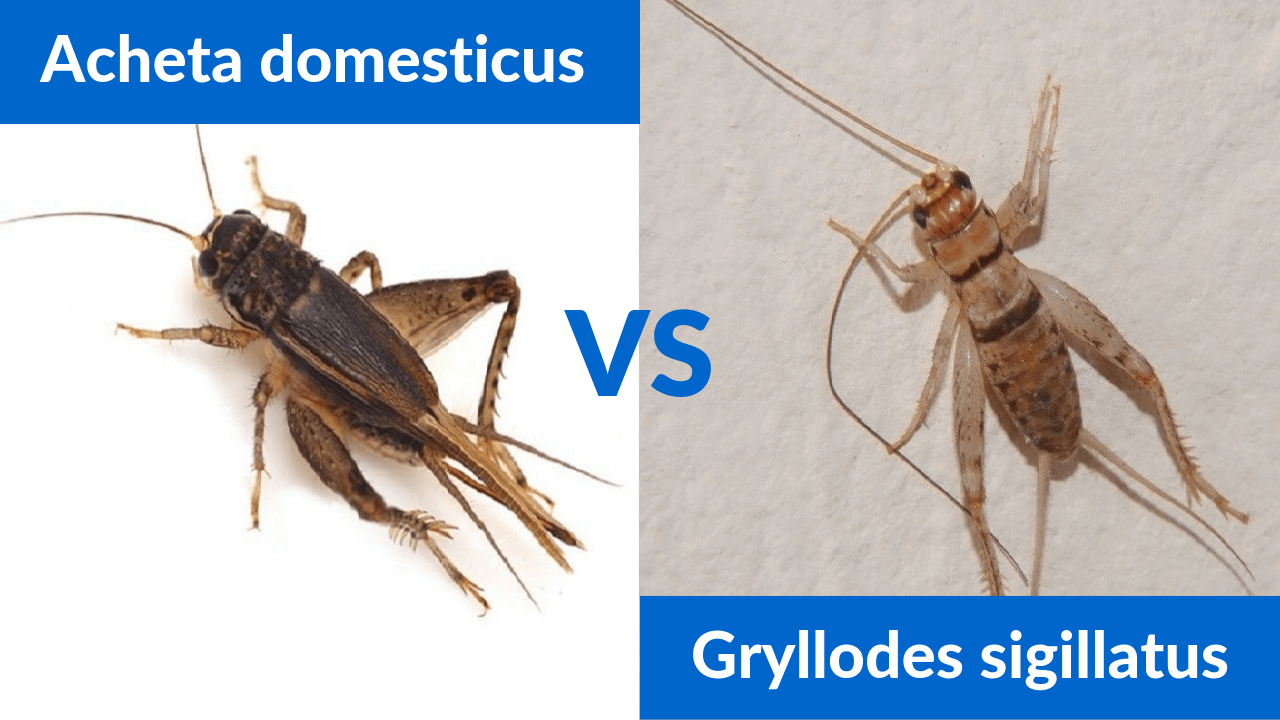
Mature male and female crickets are easily distinguished. Males have ridged wings which they use to chirp to attract females. Females have smoother wings and a needle-like extension from the abdomen called an ovipositor which is used to lay eggs. If you start out with 50 crickets, you will have plenty of males and females. The females will readily lay eggs in the Coco fiber through the screen.
- About once per day remove the screen and dampen the surface of the Coco fiber if it appears dry.
- Replace the lid firmly. If the lid is not replaced the crickets will dig into the Coco fiber and may eat the eggs.
- After about one week depending on temperature, the eggs will begin to hatch. Place the egg-laying container in the nursery container. You may decide to partially cover it to prevent it from drying out as quickly.
- Fill the second egg-laying container with Coco fiber and place it in the main bin.
- Provide the same food and water crystals to the hatchling crickets that you provide for the adults.
- After a week or two, you will notice that hatchlings no longer emerge from the Coco fiber. At this time rotate the egg-laying container into the nursery container. Discard the used Coco fiber and provide a fresh batch to the egg-laying females.
- Young crickets grow quickly, within a week or two of hatching the young crickets will be old enough to be released into the main bin with the adults and within three additional weeks, they should be mature themselves.
Harvesting
Since crickets can and will jump, it is a good idea to have a helper while harvesting to collect escapees. I find that by putting the empty bin next to the main bin, I can remove an egg carton or cardboard tube with minimal problems. Shake it into the empty bin and collect the quantity and size of crickets that I need. I then pour the remaining crickets back into the main bin. it is also possible to shake crickets directly into a smaller collecting container. crickets make a versatile food for various pets, raising them is not difficult and can be much more economical than purchasing dozens of them every week.

-

 Cricket insect8 years ago
Natural Insecticides to Get Rid of Insects
-
 Cricket insect6 years ago
Cricket Insect
-
 Cricket Farming6 years ago
Starter Crickets: Acheta domesticus vs Gryllodes sigillatus Tutorial 2
-
 Cricket Farming6 years ago
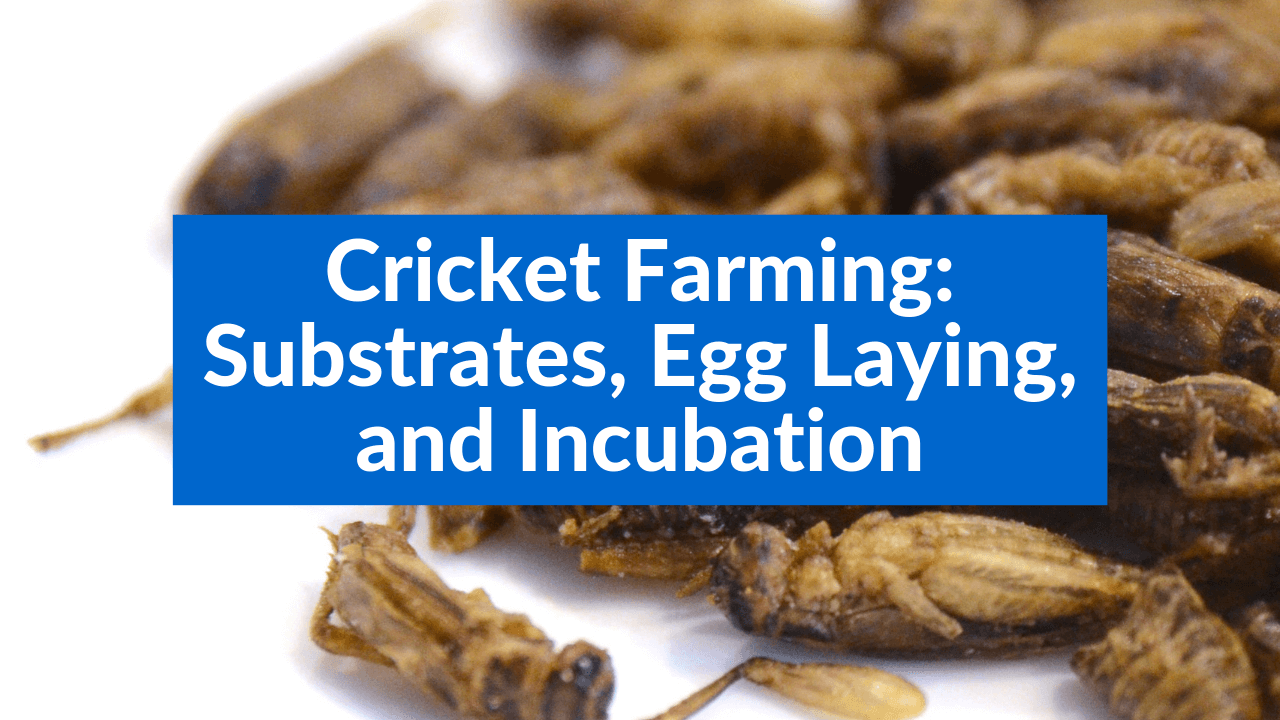
Cricket Farming: Substrates, Egg Laying, and Incubation Tutorial 5
-
 Cricket Farming6 years ago
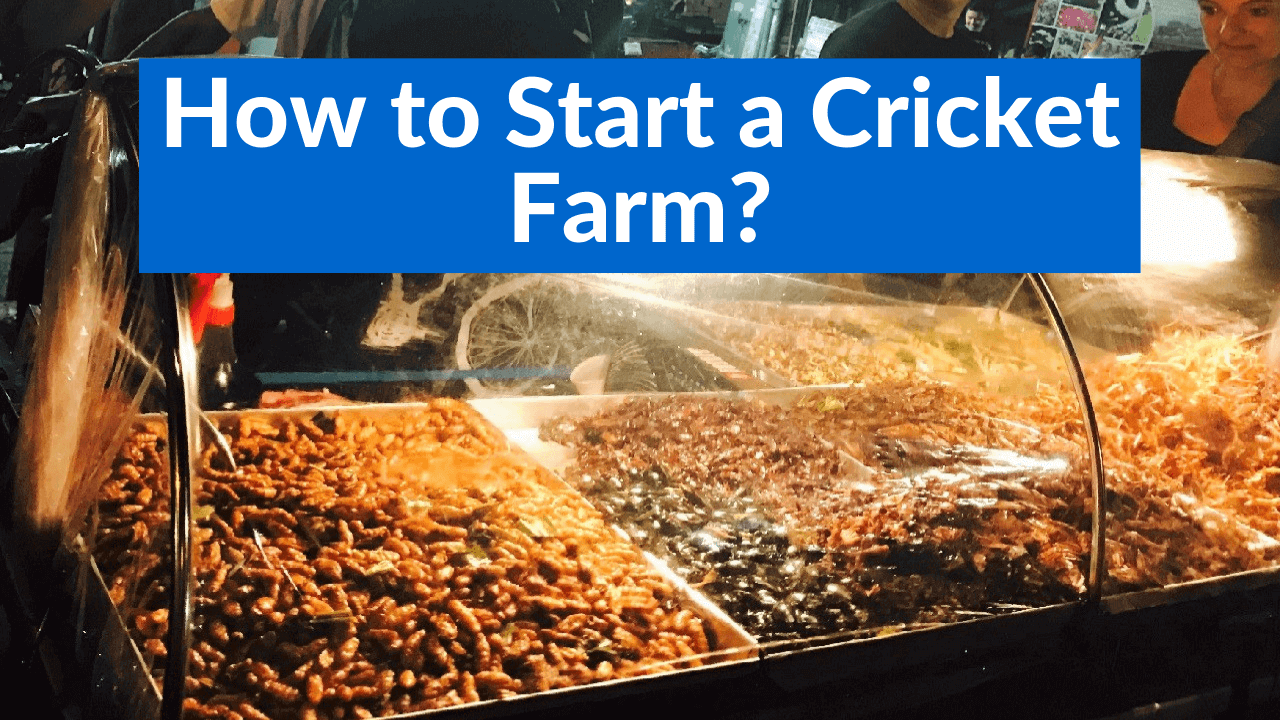
How to Start a Cricket Farm? Tutorial 1
-
 Cricket Farming6 years ago
How to Take Care of Crickets, Maintenance, Cleaning and Feeding Tutorial 7
-
 Cricket insect6 years ago
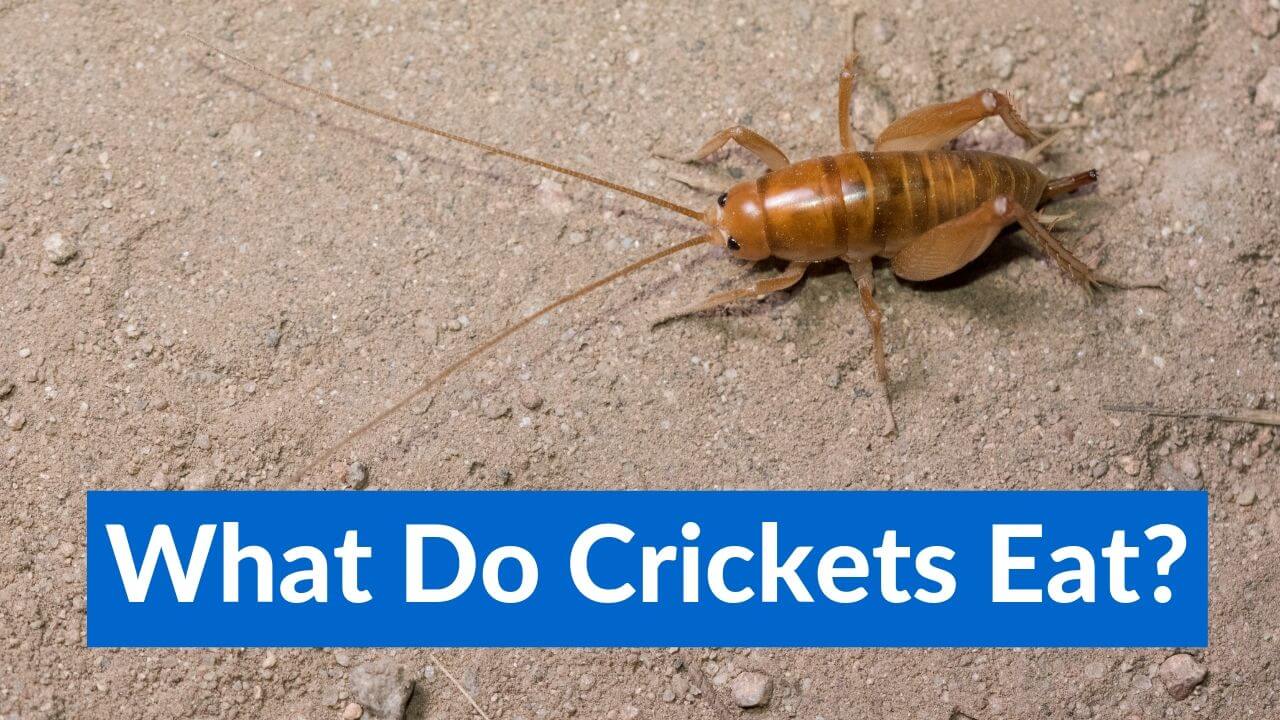
What Do Crickets Eat What To Feed Your Pet Crickets
-
 Cricket Farming6 years ago
How do You Prevent your Crickets from Drowning? Tutorial 4